Sony Handycam Photo/Video Recovery for Mac Full Version Download

/ Posted by Rlslee to Data Recovery

Summary
If you are going to recover deleted or missing photos and videos from Sony Handycam Camcorder on Mac your computer, the first thing you should do is using the professional Sony Handycam Recovery tool for Mac. This article tells you how to recover deleted/lost/formatted photos and videos from Sony Handycam in 3 easy steps on Mac.
Photo/Video Loss Scenarios from Sony Handycam
Accidentally deleted all photos in Sony Handycam Camcorder
A few videos were shot when the Sony Handycam Camcorder flashed the low battery symbol Then you receive a "Memory Card Error" message
When you copy videos/photos from Sony Handycam to a Mac computer, some photos cannot be copied
Sony Handycam CF card or SD card requires reformatting
The videos/photos on the SD card are not displayed on the Sony Handycam Camcorder
Sony Handycam Camcorder SD card is damaged and cannot be recognized by the Mac computer
Sony Handycam Camcorder displays error-"SD card not inserted" is displayed after inserting the card
After taking some videos, the Sony Handycam Camcorder freezes or freezes.
Best Mac Sony Handycam Photo/Video Recovery for Mac
Mac Any Data Recovery Pro is the best Mac Sony Handycam Photo/Video Recovery software. It can retrieve deleted, lost, erased, formatted, missing or corrupted photos and videos from Sony Handycam Camcorder due to formatting, deletion, virus infection and more above Sony Handycam photo/video loss situations.
3 Steps: How to Recover Deleted/Lost Photos/Videos from Sony Handycam on Mac
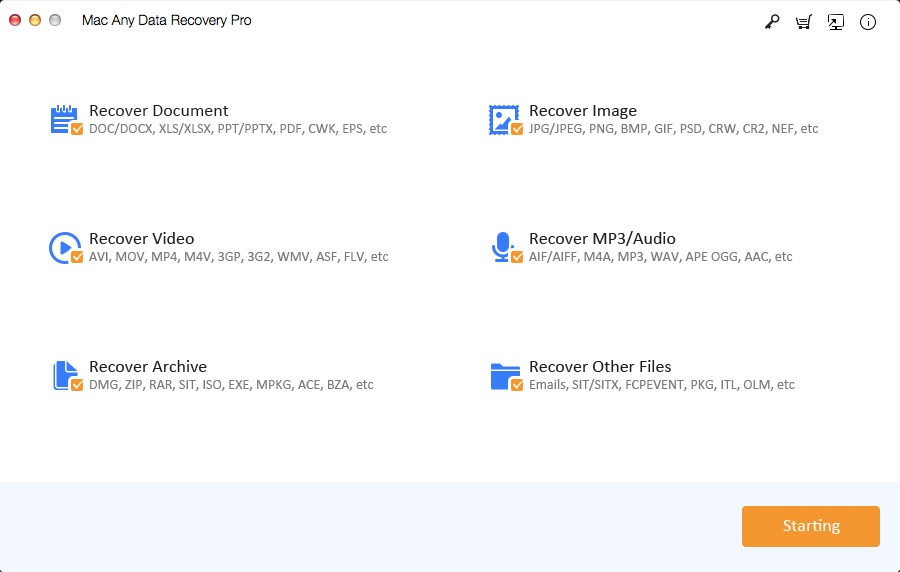
Step 1: Connect the Sony Handycam Camcorder memory card to the Mac, then download, install and launch Mac Sony Handycam Photo/Video Recovery on Mac. Please make sure your Sony Handycam Camcorder or Sony Handycam Camcorder SD card appears on your Mac computer as an external hard drive. Select Recover Image and Recover Video then click Starting button.
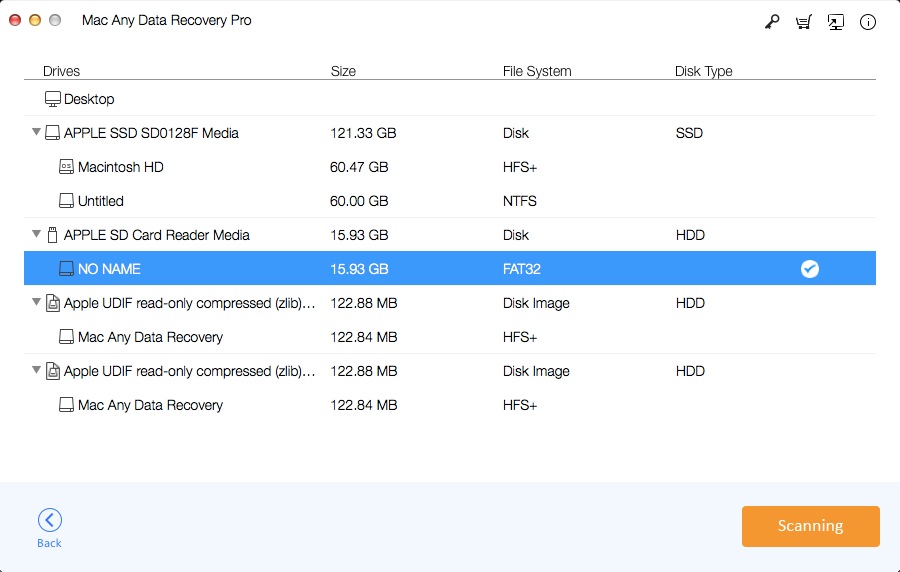
Step 2: Select the Sony Handycam Camcorder SD card drive and click Scanning button.
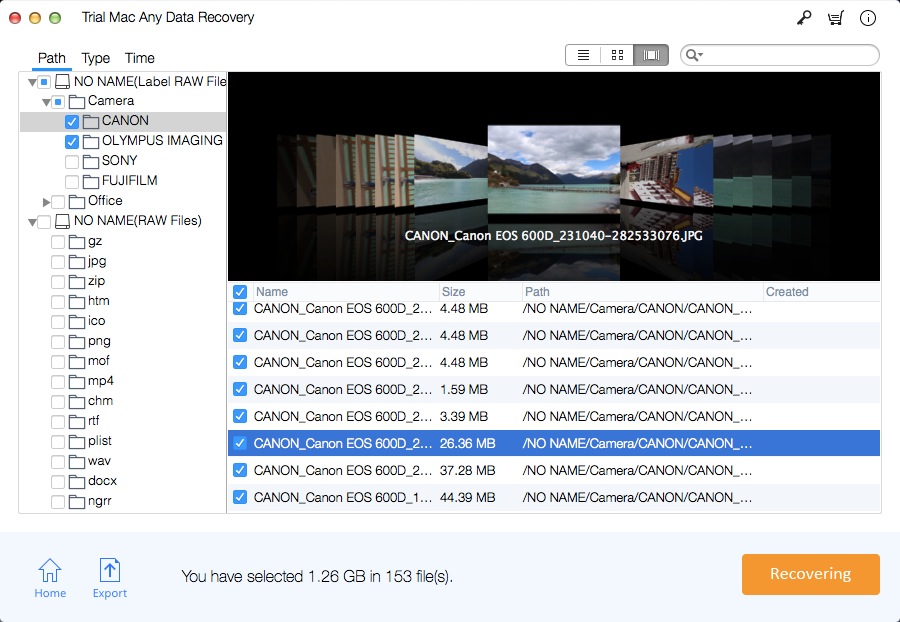
Step 3: Preview the recoverable files after the scanning process is completed. Select the files you want to restore and click on Recovering option to save them at the location you want.